How to Fix AI Headshots That Look Too Glossy or Unnatural

When AI headshots look fake, the problem is usually diagnosable and fixable. The most common culprits are over-smoothed skin, plastic-looking highlights, blank or exaggerated expressions, and source photos that were too low quality to work with. If your AI headshots look fake or too glossy, you do not always need a photographer. You often just need better inputs and smarter regeneration choices.
This guide walks through a diagnosis-first process: identify what looks wrong, understand the likely cause, apply targeted fixes, and know when to retake source photos instead of regenerating. Use it to turn artificial-looking results into realistic AI headshots you would actually put on LinkedIn, a resume, or a company page.
The Problem
You uploaded photos, generated a batch, and something feels off. The skin looks like porcelain. Highlights on the forehead and nose glow like polished plastic. The eyes are slightly misaligned, or the smile looks pasted on. Viewers may not name the flaw, but they sense it, and that instinct works against the credibility a headshot is supposed to build.
This matters because a professional profile photo is often the first thing a recruiter, client, or colleague sees. Guidance from LinkedIn encourages a clear, current, professional photo, and an obviously artificial image undercuts that goal. When AI headshots look fake, they can quietly signal "low effort" even when the underlying tool is capable of much better.
Why This Happens

Unnatural results rarely come from one single flaw. They stack up from several small issues in the input and the settings.
- Weak source photos: blurry, low-light, heavily filtered, or extremely uniform selfies give the model little real detail to reconstruct.
- Over-retouching: aggressive skin smoothing removes pores and texture, producing that waxy, glossy sheen.
- Flat expression data: if all your uploads show the same forced smile, generated expressions can look stiff or repetitive.
- Inconsistent lighting: mixed lighting across source photos confuses the model on where shadows and highlights should fall.
It helps to understand how the pipeline uses your inputs. Our breakdown of how AI headshots work explains why the training photos you supply have the biggest influence on realism.
The Solution
The fix is to improve inputs first, then adjust generation choices, and only regenerate once you have addressed the root cause. Chasing endless regenerations with the same weak photos usually recycles the same problems.
Start by matching the visible symptom to its likely cause and correction:
| What looks wrong | Likely cause | Fix |
|---|---|---|
| Glossy, plastic skin | Over-smoothing / heavy retouch | Choose more natural retouch level; add textured source photos |
| Blown-out highlights | Harsh or uneven source lighting | Reshoot in soft, even light near a window |
| Stiff or pasted expression | Identical forced smiles in uploads | Add relaxed, varied expressions to the set |
| Warped features or accessories | Occlusions (glasses glare, hats, hair) | Remove distractions; use clear front-facing shots |
| Wrong age or identity drift | Too few or outdated source photos | Upload 8-15 recent, consistent images |
If you are unsure whether a style genuinely fits your channel, review the range of headshot types to see how natural, credible results should look for LinkedIn, corporate, and executive use before you regenerate.
Create Professional Headshots in Minutes
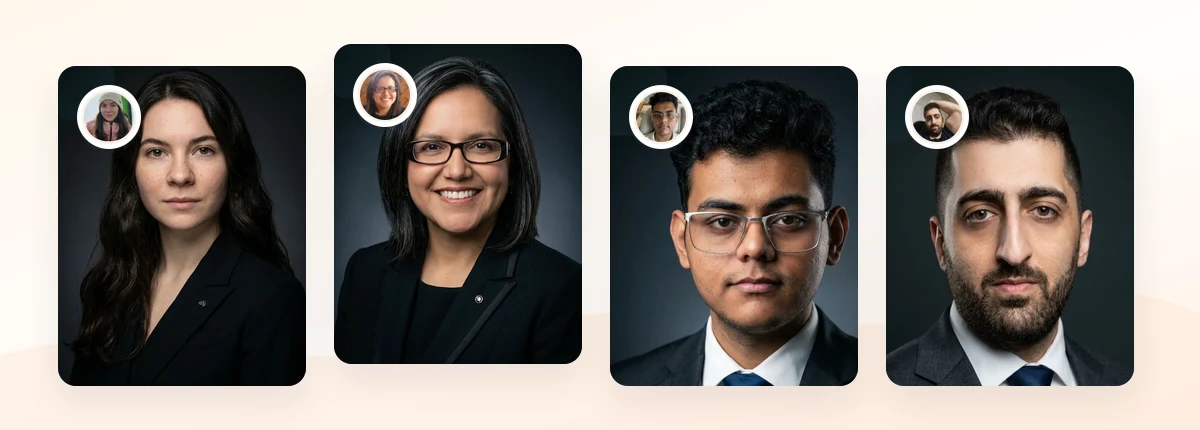
Upload 5-20 everyday photos and get 40-100 polished AI headshots for LinkedIn, resumes, company pages, and executive bios.
15-30 minute delivery • Full commercial rights • One-time payment
Get My Headshots →How to Implement
Work through these steps in order. Each one removes a common source of the "fake" look before you spend another generation cycle.
- Audit your source photos. Keep only sharp, well-lit, recent images. Remove screenshots, heavy filters, sunglasses, group photos, and shots where your face is small or turned away.
- Add lighting variety, but keep it soft. Natural window light or diffuse indoor light preserves skin texture. Avoid direct flash, which flattens detail and creates hotspots.
- Vary expression and angle. Include a genuine smile, a neutral look, and a slight head turn. Varied real data produces more natural generated expressions.
- Check attire and framing. Wear solid, professional clothing in a few shots. Busy patterns and logos can distort during generation.
- Dial back retouching. If your tool offers a smoothing or "beauty" setting, choose the most natural option. Realistic AI headshots keep visible pores, faint lines, and true skin tone.
- Regenerate selectively. Generate a fresh batch, then judge on a large screen and a phone. Pick a few strong candidates rather than forcing one image to be perfect.
A quick self-check before you approve any headshot:
- Does the skin have realistic texture, not a glossy sheen?
- Do both eyes look aligned, focused, and the same shape?
- Is the expression relaxed and consistent with how you actually look?
- Does the lighting look like one coherent scene, not two mismatched sources?
- Would a colleague recognize you instantly?
If several answers are no, the issue is almost always the source set. Retaking a handful of better photos beats another round of regeneration. Our guide to capturing professional headshots at home covers the lighting and framing details that fix most realism problems at the input stage.
Real Results

The difference between fake-looking and realistic output usually traces back to the inputs, not the model. When source photos are consistent and well-lit, generated skin keeps texture and highlights land naturally. When they are blurry or heavily filtered, the model fills gaps with smooth, artificial-looking surfaces.
Photographers and platforms tend to emphasize the same fundamentals. Guidance summarized by resources like independent AI headshot reviews points to input quality and natural retouching as the strongest predictors of believable results. In practice, replacing three or four weak uploads with clear, evenly lit shots often resolves the glossy look without any other change. It is a small effort with an outsized effect on how credible your final headshot appears.
Final Thoughts
When AI headshots look fake, the fix is rarely mysterious. Glossy skin, harsh highlights, and stiff expressions almost always trace back to weak source photos, over-retouching, or uneven lighting. By auditing your inputs, softening retouch settings, and regenerating with varied, high-quality photos, you can produce realistic AI headshots that hold up on LinkedIn, resumes, and company pages.
Start with a small set of clear, recent source photos, choose a natural style that fits your channel, and evaluate results on both desktop and mobile before you commit. When your inputs are solid, the path from artificial to authentic is short. The conversion is waiting in the CTA block below.
Create Professional Headshots in Minutes
Upload 5-20 everyday photos and get 40-100 polished AI headshots for LinkedIn, resumes, company pages, and executive bios.
15-30 minute delivery • Full commercial rights • One-time payment
Get My Headshots →FAQ
Common questions about fixing unnatural AI headshots.