How to Take Professional Headshots Yourself (Phone + AI)

If you want to know how to take professional headshots without booking a studio, the short answer is this: a modern phone, window light, a clean background, and careful framing get you most of the way there. The final stretch, even lighting, natural retouching, and consistent results, is where most DIY photos fall apart, and where an AI upgrade closes the gap. This guide walks the honest phone workflow first, then shows exactly where automation helps.
You do not need expensive gear to look credible on LinkedIn, a resume, or a company page. You need good light, the right distance, and a repeatable process. Below you will find the setup, step-by-step shooting instructions, best practices, and the mistakes that quietly ruin otherwise fine photos.
Key Takeaways
- Light beats gear. Soft, even window light does more for a headshot than any premium phone camera setting.
- Distance controls flattery. Shoot from a few feet back and zoom slightly to avoid facial distortion.
- Use the back camera. Front-facing selfie cameras are lower quality and widen your features.
- Backgrounds should be simple. A plain wall or clean office corner keeps attention on your face.
- AI fills the consistency gap. When you need multiple polished looks fast, an AI workflow standardizes lighting and framing across every shot.
What Is a Professional Headshot (and What Makes One "Professional")?
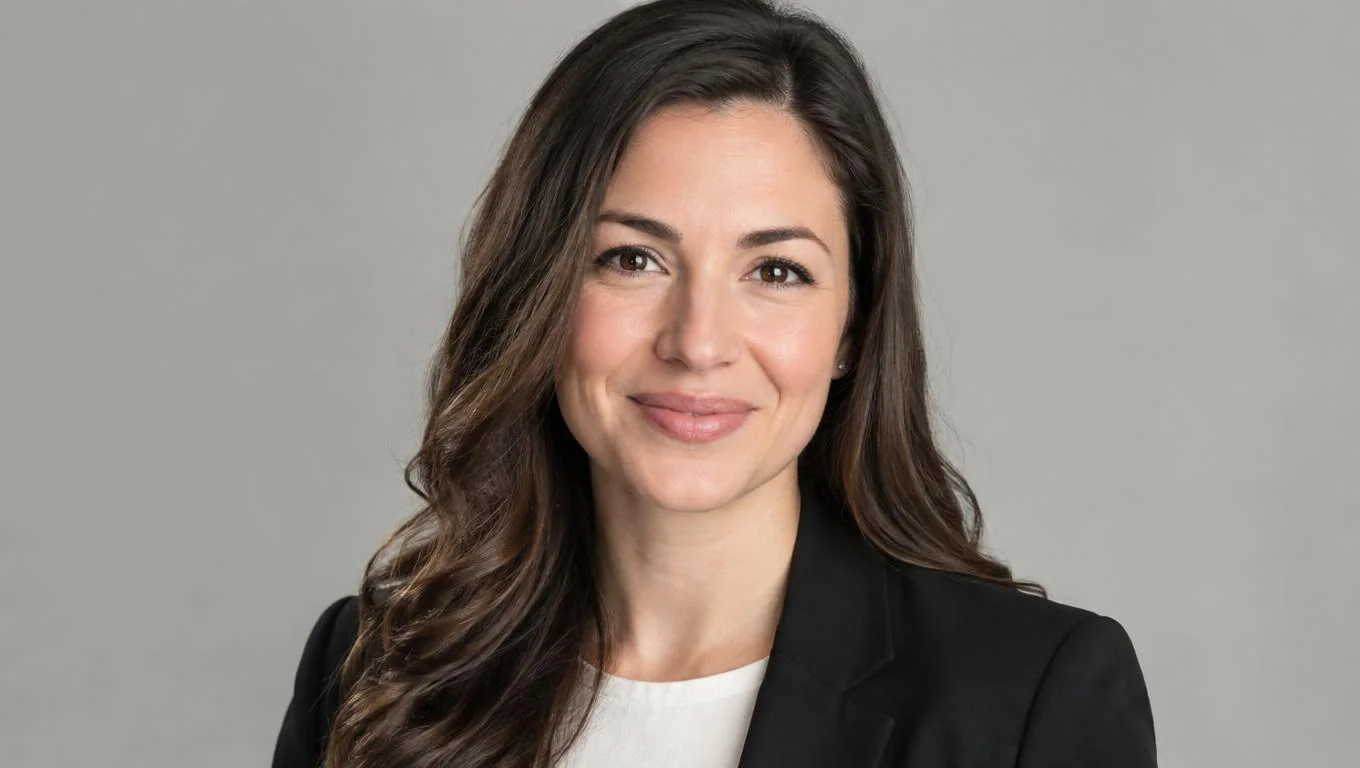
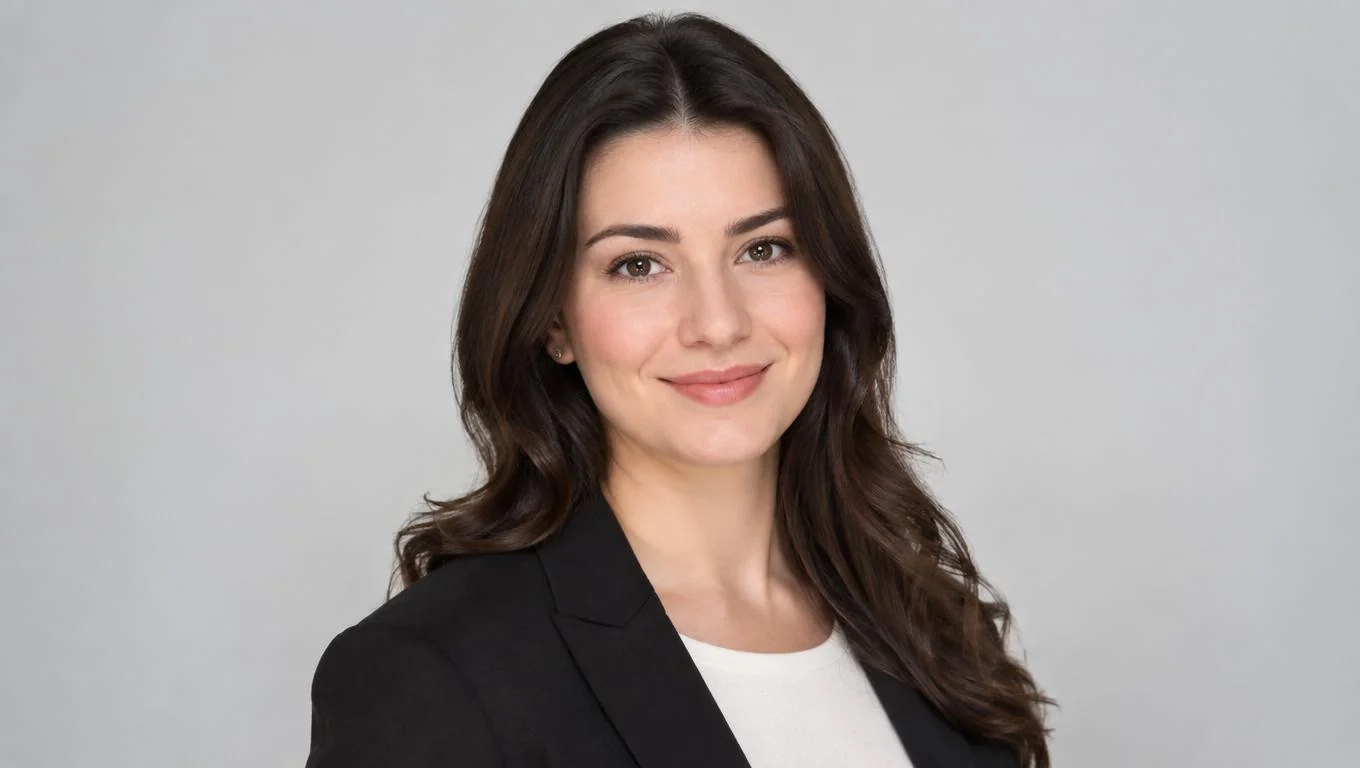
A professional headshot is a tightly framed portrait, typically from the chest or shoulders up, designed to communicate your role, credibility, and approachability in a fraction of a second. It is not a casual selfie, a cropped group photo, or a vacation snapshot. The difference is intent: every element is controlled to make you look present, capable, and easy to trust.
Three things separate a professional-looking headshot from an average phone photo:
- Even, flattering light that reduces harsh shadows under the eyes and nose.
- A clean, non-distracting background that keeps the focus on your face.
- Correct framing and sharpness, with your eyes roughly in the upper third of the frame.
When people ask how to shoot headshots that actually look professional, they are usually solving for these three variables. Get them right and the photo reads as intentional. Get them wrong and it reads as improvised, no matter how expensive your phone is. If you want to compare finished results before you start, browse these professional headshot examples to calibrate your target quality.
Why Taking Good Headshots Matters
Your headshot is often the first thing a recruiter, client, or colleague sees. On LinkedIn, the platform's own guidance emphasizes a clear, recent, professional image that looks like you (LinkedIn Help). A weak photo does not just look unpolished. It can quietly undercut an otherwise strong profile.
The stakes are practical. A blurry, poorly lit, or overly casual image can make a qualified candidate look less prepared than they are. A clean, confident headshot does the opposite: it signals that you take your professional presence seriously.
There is also a cost angle. Traditional headshot sessions can add up quickly once you factor in the sitting fee and retouching. Learning to photograph headshots yourself, and knowing when to lean on AI, gives you control over both quality and budget.
How to Take Professional Headshots Yourself: Step by Step

Here is the honest phone workflow. Follow it in order, and do not skip the light step. It matters more than everything else combined.
1. Find soft, directional light
Stand facing a large window during daylight, but not in direct sun. Indirect window light wraps around your face and softens shadows. Position yourself so the light hits you from slightly to one side rather than straight on, which adds gentle dimension. Avoid overhead ceiling lights, which create raccoon-eye shadows.
2. Clean up the background
Choose a plain wall, a neutral office corner, or a simple bookshelf a few feet behind you. Standing away from the wall creates natural depth and slight blur. If you are unsure which backdrop reads best for your field, this guide to headshot backgrounds compares white, gray, office, and outdoor options.
3. Use the back camera and set the distance
Always use the rear camera. It is sharper and more accurate than the selfie camera, which widens your nose and face. Place the phone on a tripod or stack of books at eye level, about four to six feet away. Then use a slight optical zoom (roughly the 2x lens on many phones) to compress features flatteringly.
4. Frame and focus
Frame from mid-chest to just above your head, with your eyes in the upper third. Tap the screen on your eye to lock focus and exposure. Keep your shoulders angled slightly and your chin gently forward and down to define your jawline.
5. Shoot many frames with small variations
Use a timer or a Bluetooth remote so you are not touching the phone. Take 30–50 shots, changing your expression, angle, and eye direction slightly between each. Small differences in a genuine smile or head tilt separate a good frame from a great one. For posture inspiration, review these headshot poses that read as confident.
6. Review, then lightly edit
Cull down to your best three to five frames. Make only subtle adjustments: exposure, minor contrast, and light cropping. Resist heavy filters and skin-smoothing that erase texture and make you look artificial.
Create Professional Headshots in Minutes
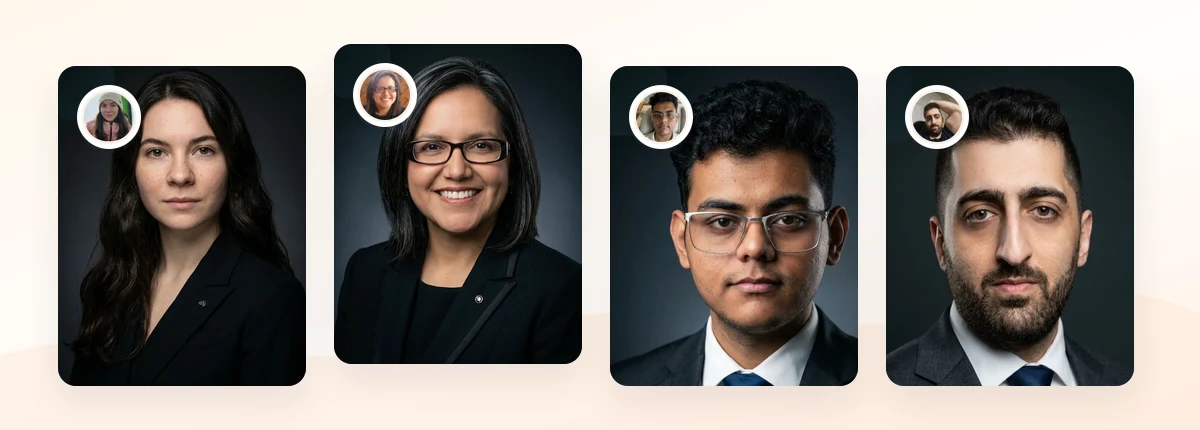
Upload 5-20 everyday photos and get 40-100 polished AI headshots for LinkedIn, resumes, company pages, and executive bios.
15-30 minute delivery • Full commercial rights • One-time payment
Get My Headshots →Best Practices for DIY Headshots (and Where AI Fits)

Once you have the basic workflow down, these practices raise the quality ceiling and clarify exactly where an AI step earns its place.
Dial in wardrobe and grooming
Wear solid, mid-tone colors that contrast gently with your background. Avoid busy patterns, bright logos, and pure white or black, which can blow out or crush detail on phone cameras. For field-specific choices, this breakdown of what to wear for headshots by industry is a useful reference.
Prioritize the eyes
Sharp, well-lit eyes are the single strongest signal of a professional portrait. Make sure focus lands on the eye closest to the camera, and that catchlights (small reflections from the window) are visible. Dull or out-of-focus eyes flatten the whole image.
Keep results consistent
This is where DIY struggles. Reproducing identical lighting, framing, and background across several looks, or matching a teammate's photo, is genuinely hard by hand. Light shifts, your energy fades after dozens of frames, and no two sessions match.
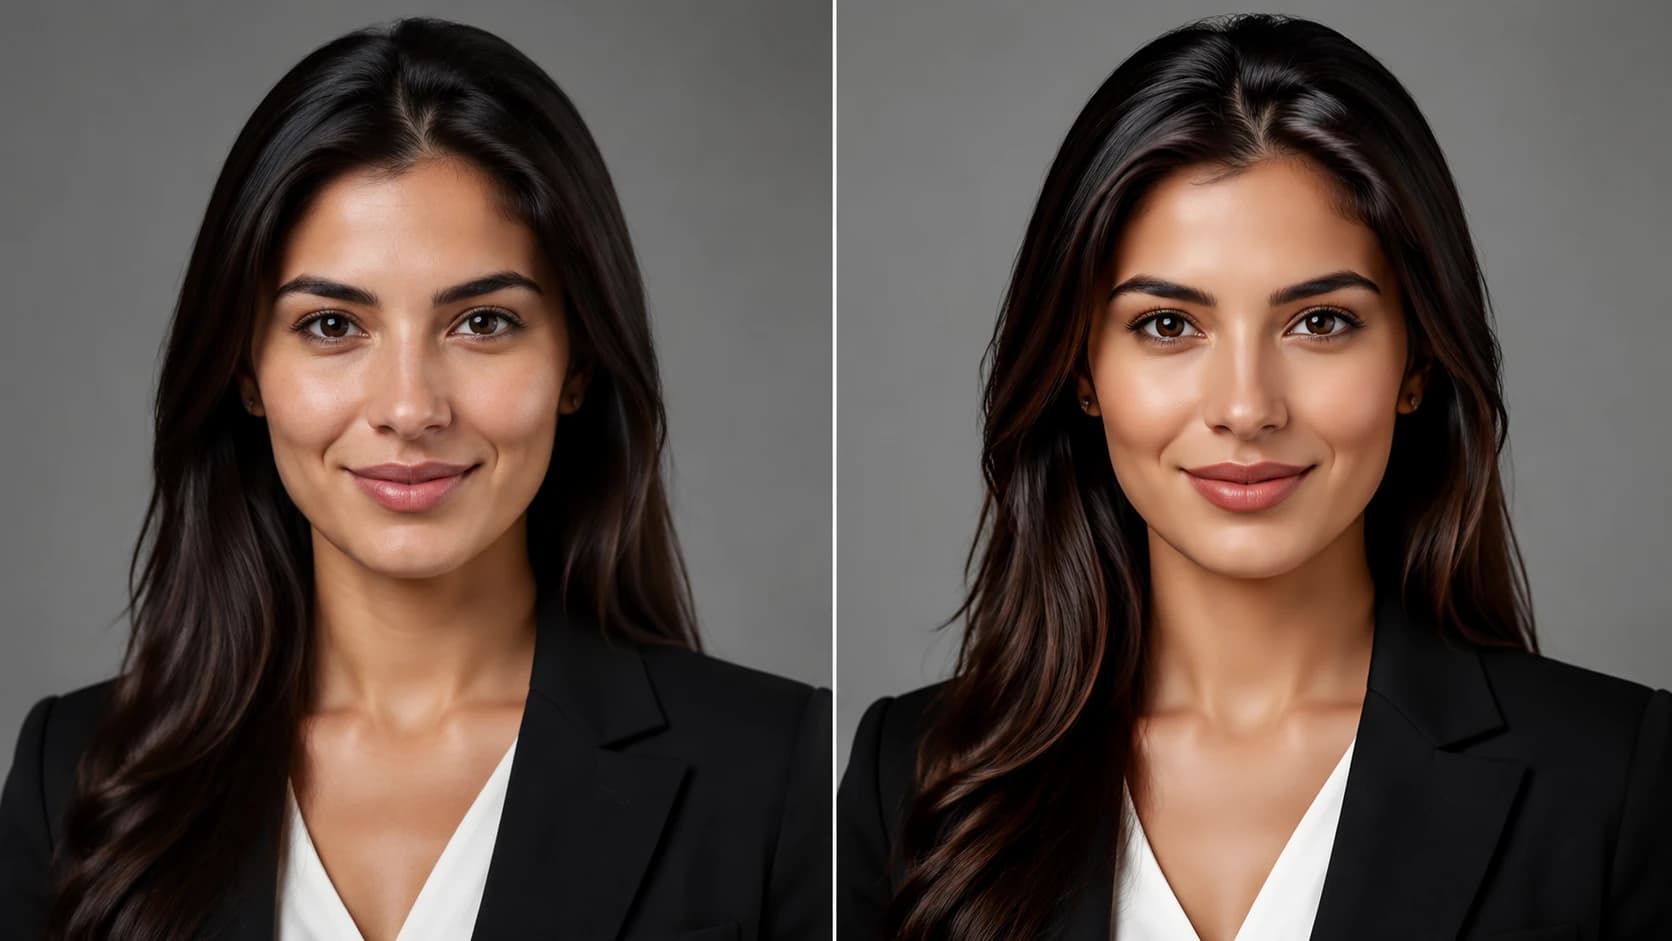
An ai headshot generator solves the consistency problem directly: you upload a set of everyday photos, and it produces multiple polished variations with standardized lighting, background, and framing. It is the practical upgrade when your phone attempts are close but uneven, when you need several styles quickly, or when a whole team must look coordinated. For a deeper look at the mechanics, see how AI headshots work under the hood.
Compare the two paths honestly
| Factor | Phone-only DIY | AI upgrade |
|---|---|---|
| Cost | Free (gear you own) | Low one-time fee |
| Time | 1–2 hours plus editing | 15–30 minutes, mostly automated |
| Consistency | Hard to reproduce | Standardized across shots |
| Number of looks | Limited by patience | Dozens of variations |
| Learning curve | Lighting and framing skills | Just pick good source photos |
Neither path is universally better. If you enjoy the process and only need one look, the phone route is enough. If you want speed, options, and reliable consistency, AI is the efficient upgrade.
Create Professional Headshots in Minutes
Upload 5-20 everyday photos and get 40-100 polished AI headshots for LinkedIn, resumes, company pages, and executive bios.
15-30 minute delivery • Full commercial rights • One-time payment
Get My Headshots →Common Mistakes to Avoid
Most failed DIY headshots come from a small set of repeatable errors. Watch for these:
- Using the selfie camera. It is lower resolution and distorts your face. Always shoot with the rear camera.
- Shooting too close. Holding the phone at arm's length enlarges the nose and forehead. Step back and zoom slightly.
- Harsh overhead or backlighting. Ceiling lights create shadows; a bright window behind you turns your face into a silhouette.
- Cluttered backgrounds. Beds, kitchens, and busy rooms pull attention away from your face.
- Over-editing. Aggressive smoothing and heavy filters look artificial. If your AI results ever look too glossy, this guide on fixing unnatural AI headshots helps you correct it.
- Only taking a few frames. Great expressions are unpredictable. Shoot many so you have real choices.
Related guide: For a more focused next step, read ProfessionalHeadshot.io Review 2026: Quality, Pricing, and How It Works and connect this advice to your wider professional headshot plan.
Final Thoughts
Knowing how to take professional headshots yourself comes down to controlling light, distance, background, and framing, then shooting enough frames to catch a genuine, confident expression. A phone is fully capable of the job when you respect those fundamentals, and you can produce a credible LinkedIn or resume photo without spending a cent on gear.
Where DIY runs out of road is consistency: matching lighting across multiple looks, coordinating a team, or turning uneven attempts into a reliable set. That is exactly where an AI workflow earns its place. Start by capturing a handful of clear, well-lit source photos, decide whether you need one look or many, and let the CTA below handle the polished conversion when you are ready.
Create Professional Headshots in Minutes
Upload 5-20 everyday photos and get 40-100 polished AI headshots for LinkedIn, resumes, company pages, and executive bios.
15-30 minute delivery • Full commercial rights • One-time payment
Get My Headshots →Frequently Asked Questions
Can I take a professional headshot with just my phone?
Yes. A modern phone's rear camera, combined with soft window light, a clean background, and correct framing, can produce a genuinely professional-looking headshot. The main limitations are consistency and even lighting, which is where an AI upgrade helps.
What is the best lighting for DIY headshots?
Soft, indirect daylight from a large window is ideal. Stand facing the window with the light slightly to one side. Avoid direct sun, overhead ceiling lights, and bright light behind you, which cause harsh shadows or silhouettes.
How far should the camera be for a headshot?
Place the phone about four to six feet away at eye level and use a slight optical zoom. Shooting too close distorts your features, especially the nose and forehead. Distance plus a modest zoom creates a flattering, natural look.
How many photos should I take?
Take 30 to 50 frames, varying your expression, angle, and eye direction slightly between each. Great expressions are unpredictable, so a larger set gives you real options when you cull down to your best three to five shots.
When should I use AI instead of shooting myself?
Use AI when you need multiple polished looks quickly, when your phone attempts are close but inconsistent, or when a team needs to look coordinated. AI standardizes lighting, framing, and background so every result matches without a repeated manual setup.